Pipes – Cutting To Length, Deburring, Bending
The pipes should be cut to length using professional pipe cutters which are suitable for the material in use. Alternatively, fine-tooth hacksaws or suitable electric saws may be used. The cut has to be perpendicular to avoid negative impact on the mechanical resistance between fitting and pipe.
Only use suitable tools that are suitable for the material to be processed. Particular attention must be paid for example, to the choice of the right saw blades or cutting wheels that are used.
The cutting and deburring tools must be clean, free from adherence or chips. After cutting / deburring, the cutting edges or pipe ends must be cleaned or freed from chips or impurities
Cutting the pipe to length
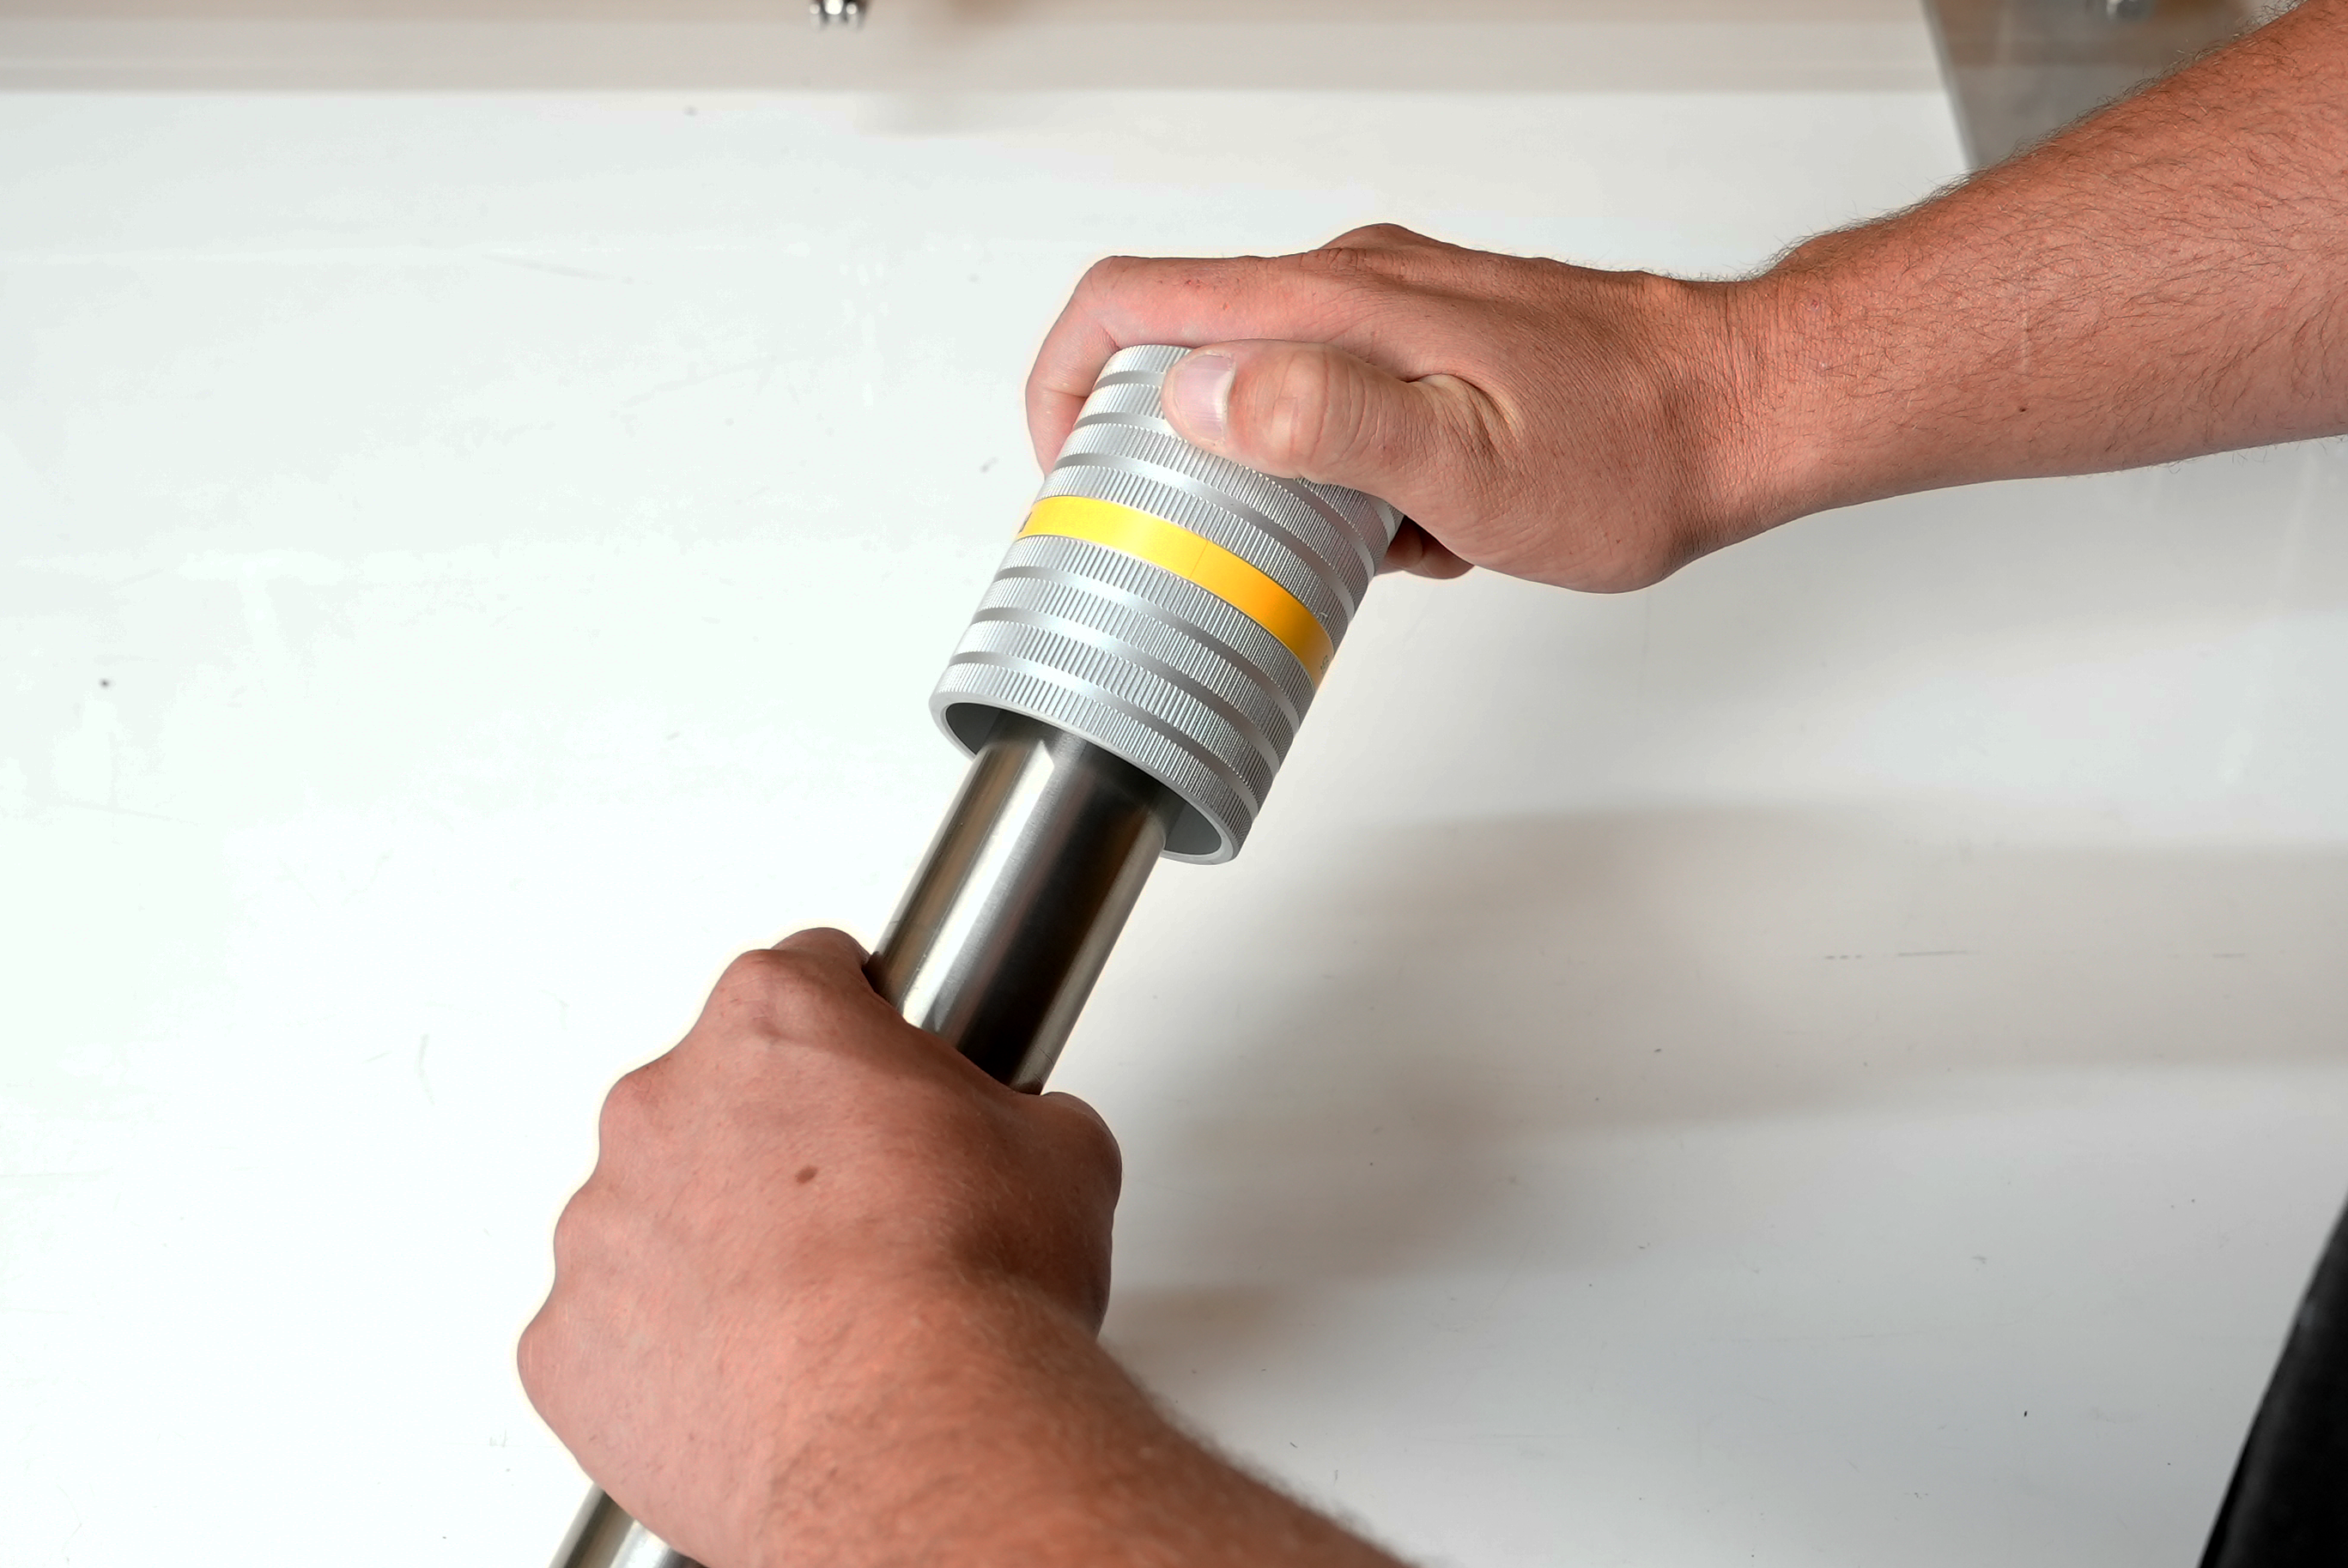
Deburring the pipe
Marking The Insertion Depth / Stripping
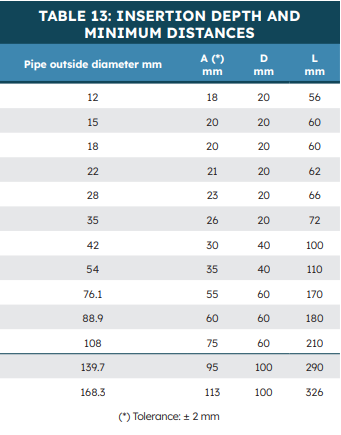
Sufficient mechanical strength of the press fit connection will only be achieved if the insertion depths shown in table 13 are adhered to. These insertion depths are valid for pipes or fittings with insertion ends (i.e. fittings without press fit end) and must be marked using a suitable marking tool. The marking of the insertion depth on the pipe must be visible directly next to the press fit formed end following pressing. The distance of the fitting from the press fit formed end may not exceed 10% of the required insertion depth, since otherwise the mechanical stability of the connection cannot be guaranteed.
In the case of Carbon Steel PP-coated pipes the insertion depth is defined through the stripping of the plastic coating using a suitable stripping tool.
When stripping the PP-sheathed tubes, use suitable tools which do not damage the raw surface.
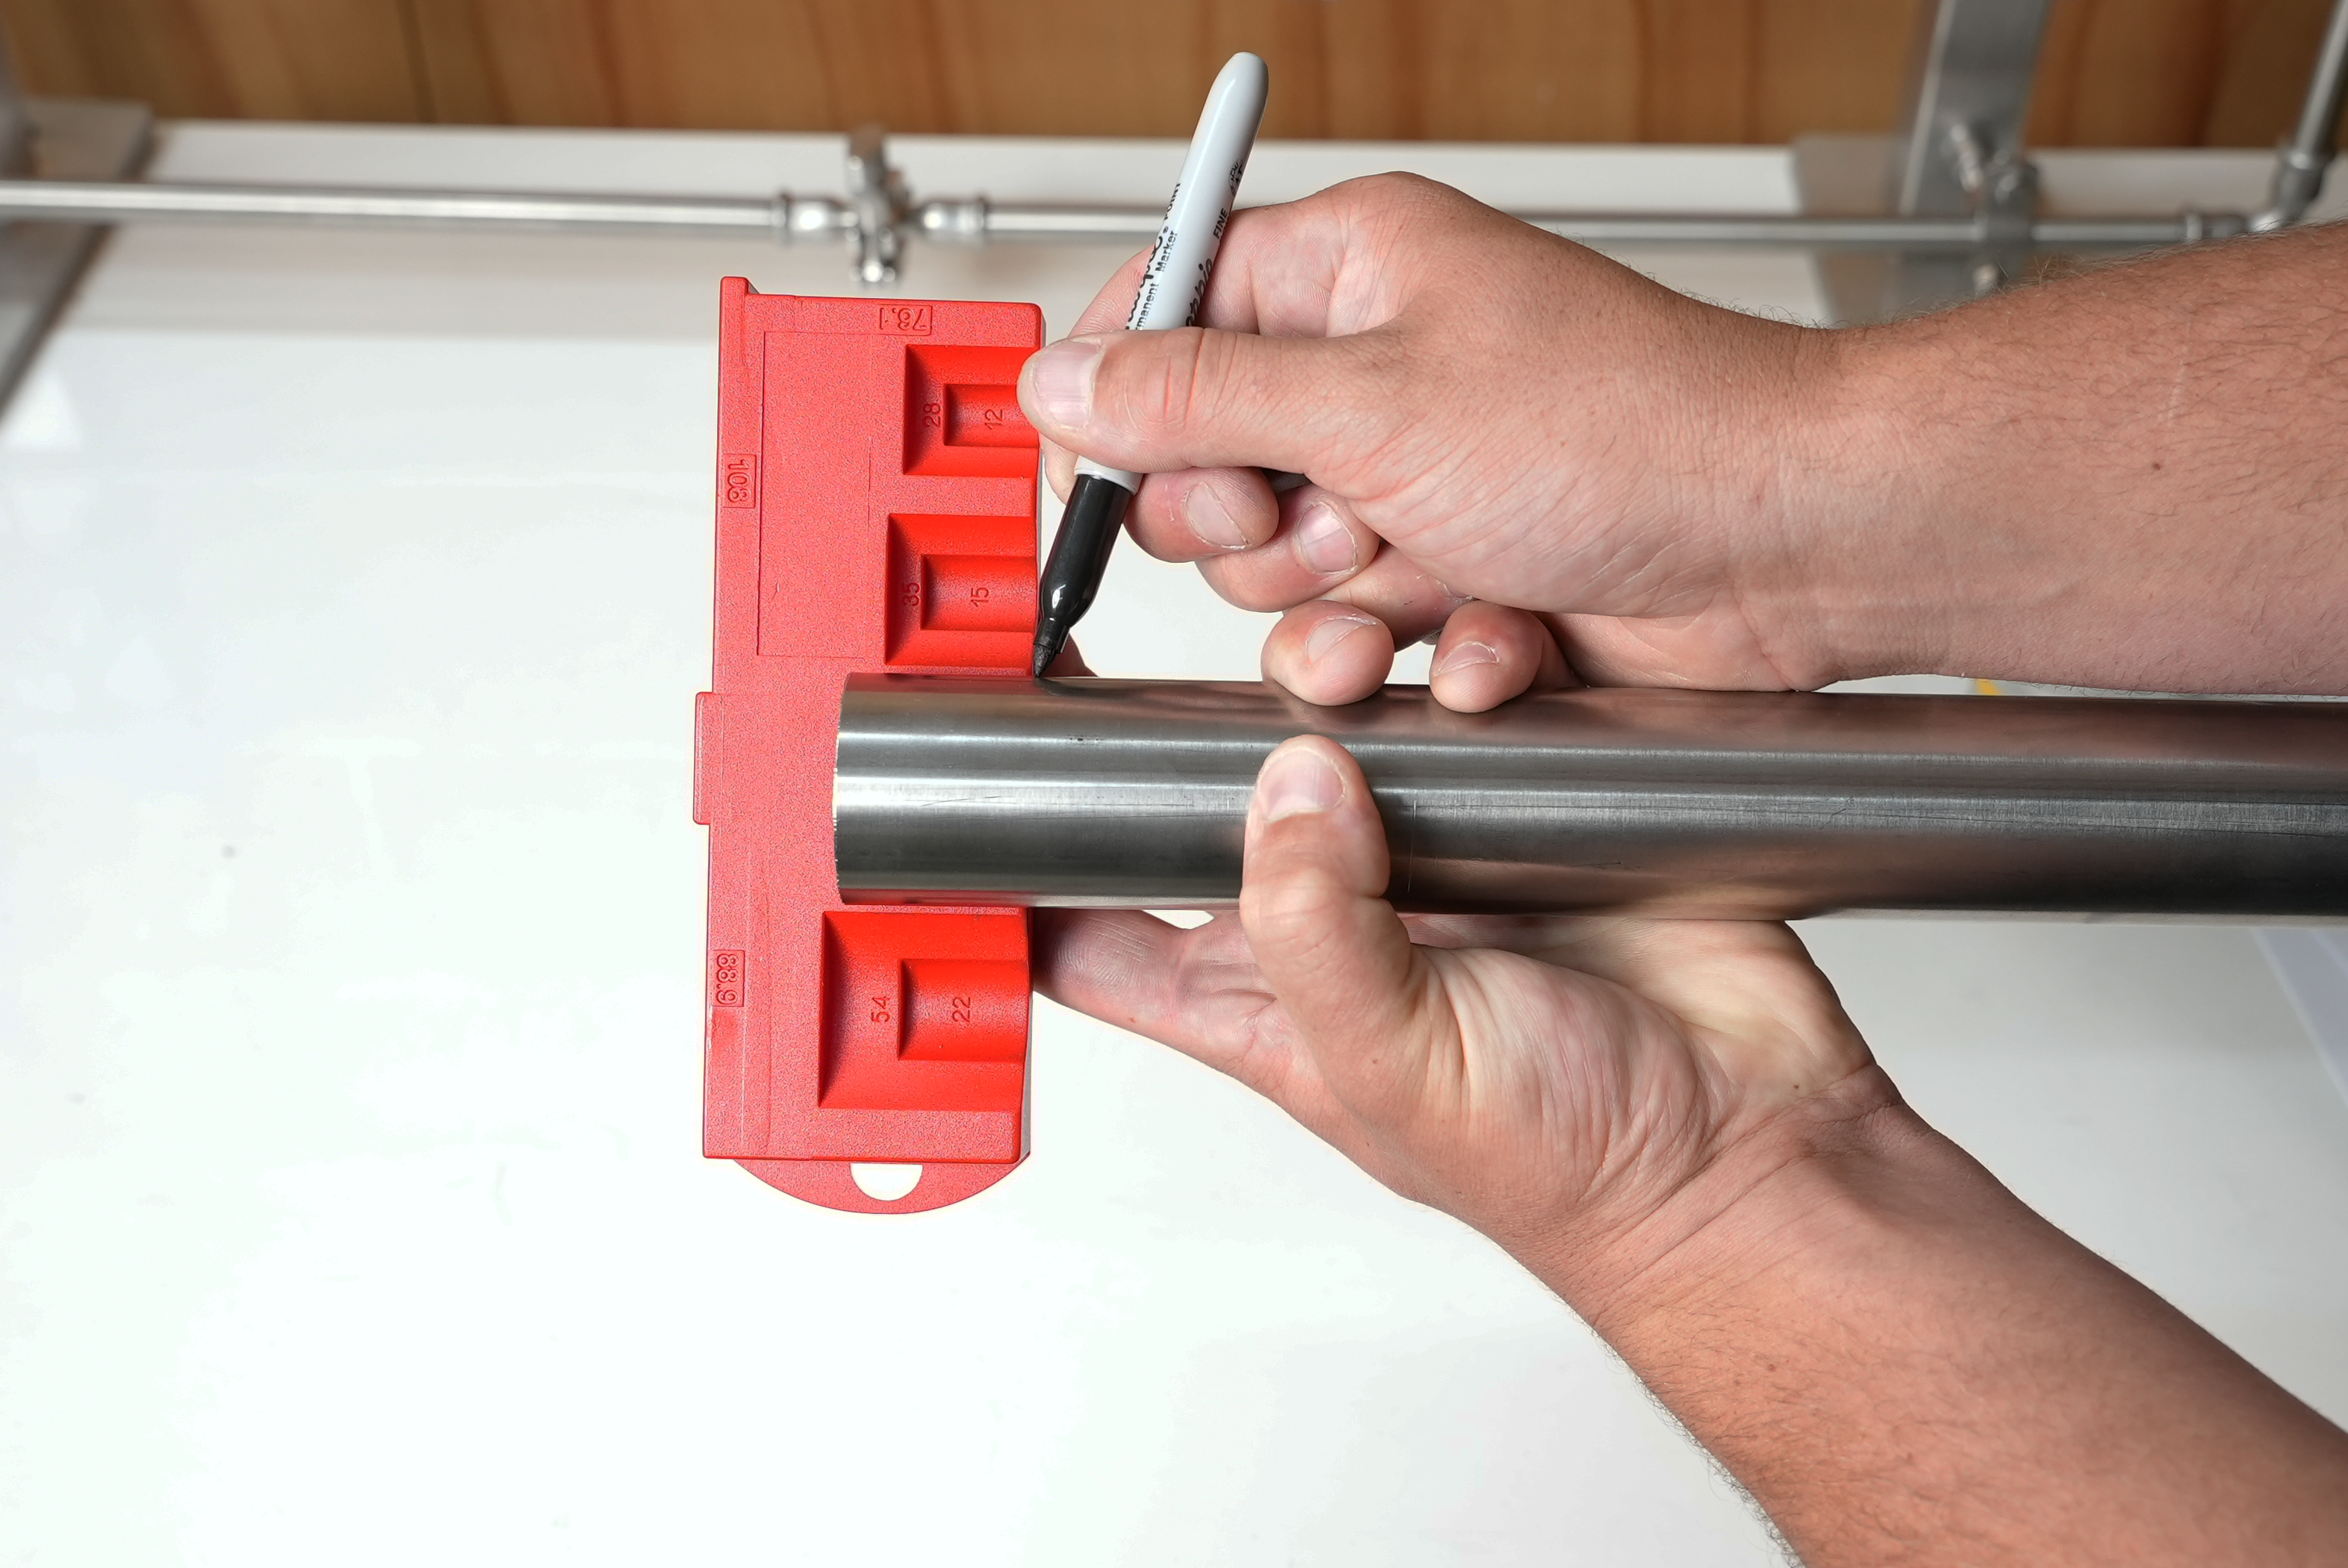
Marking the insertion depth
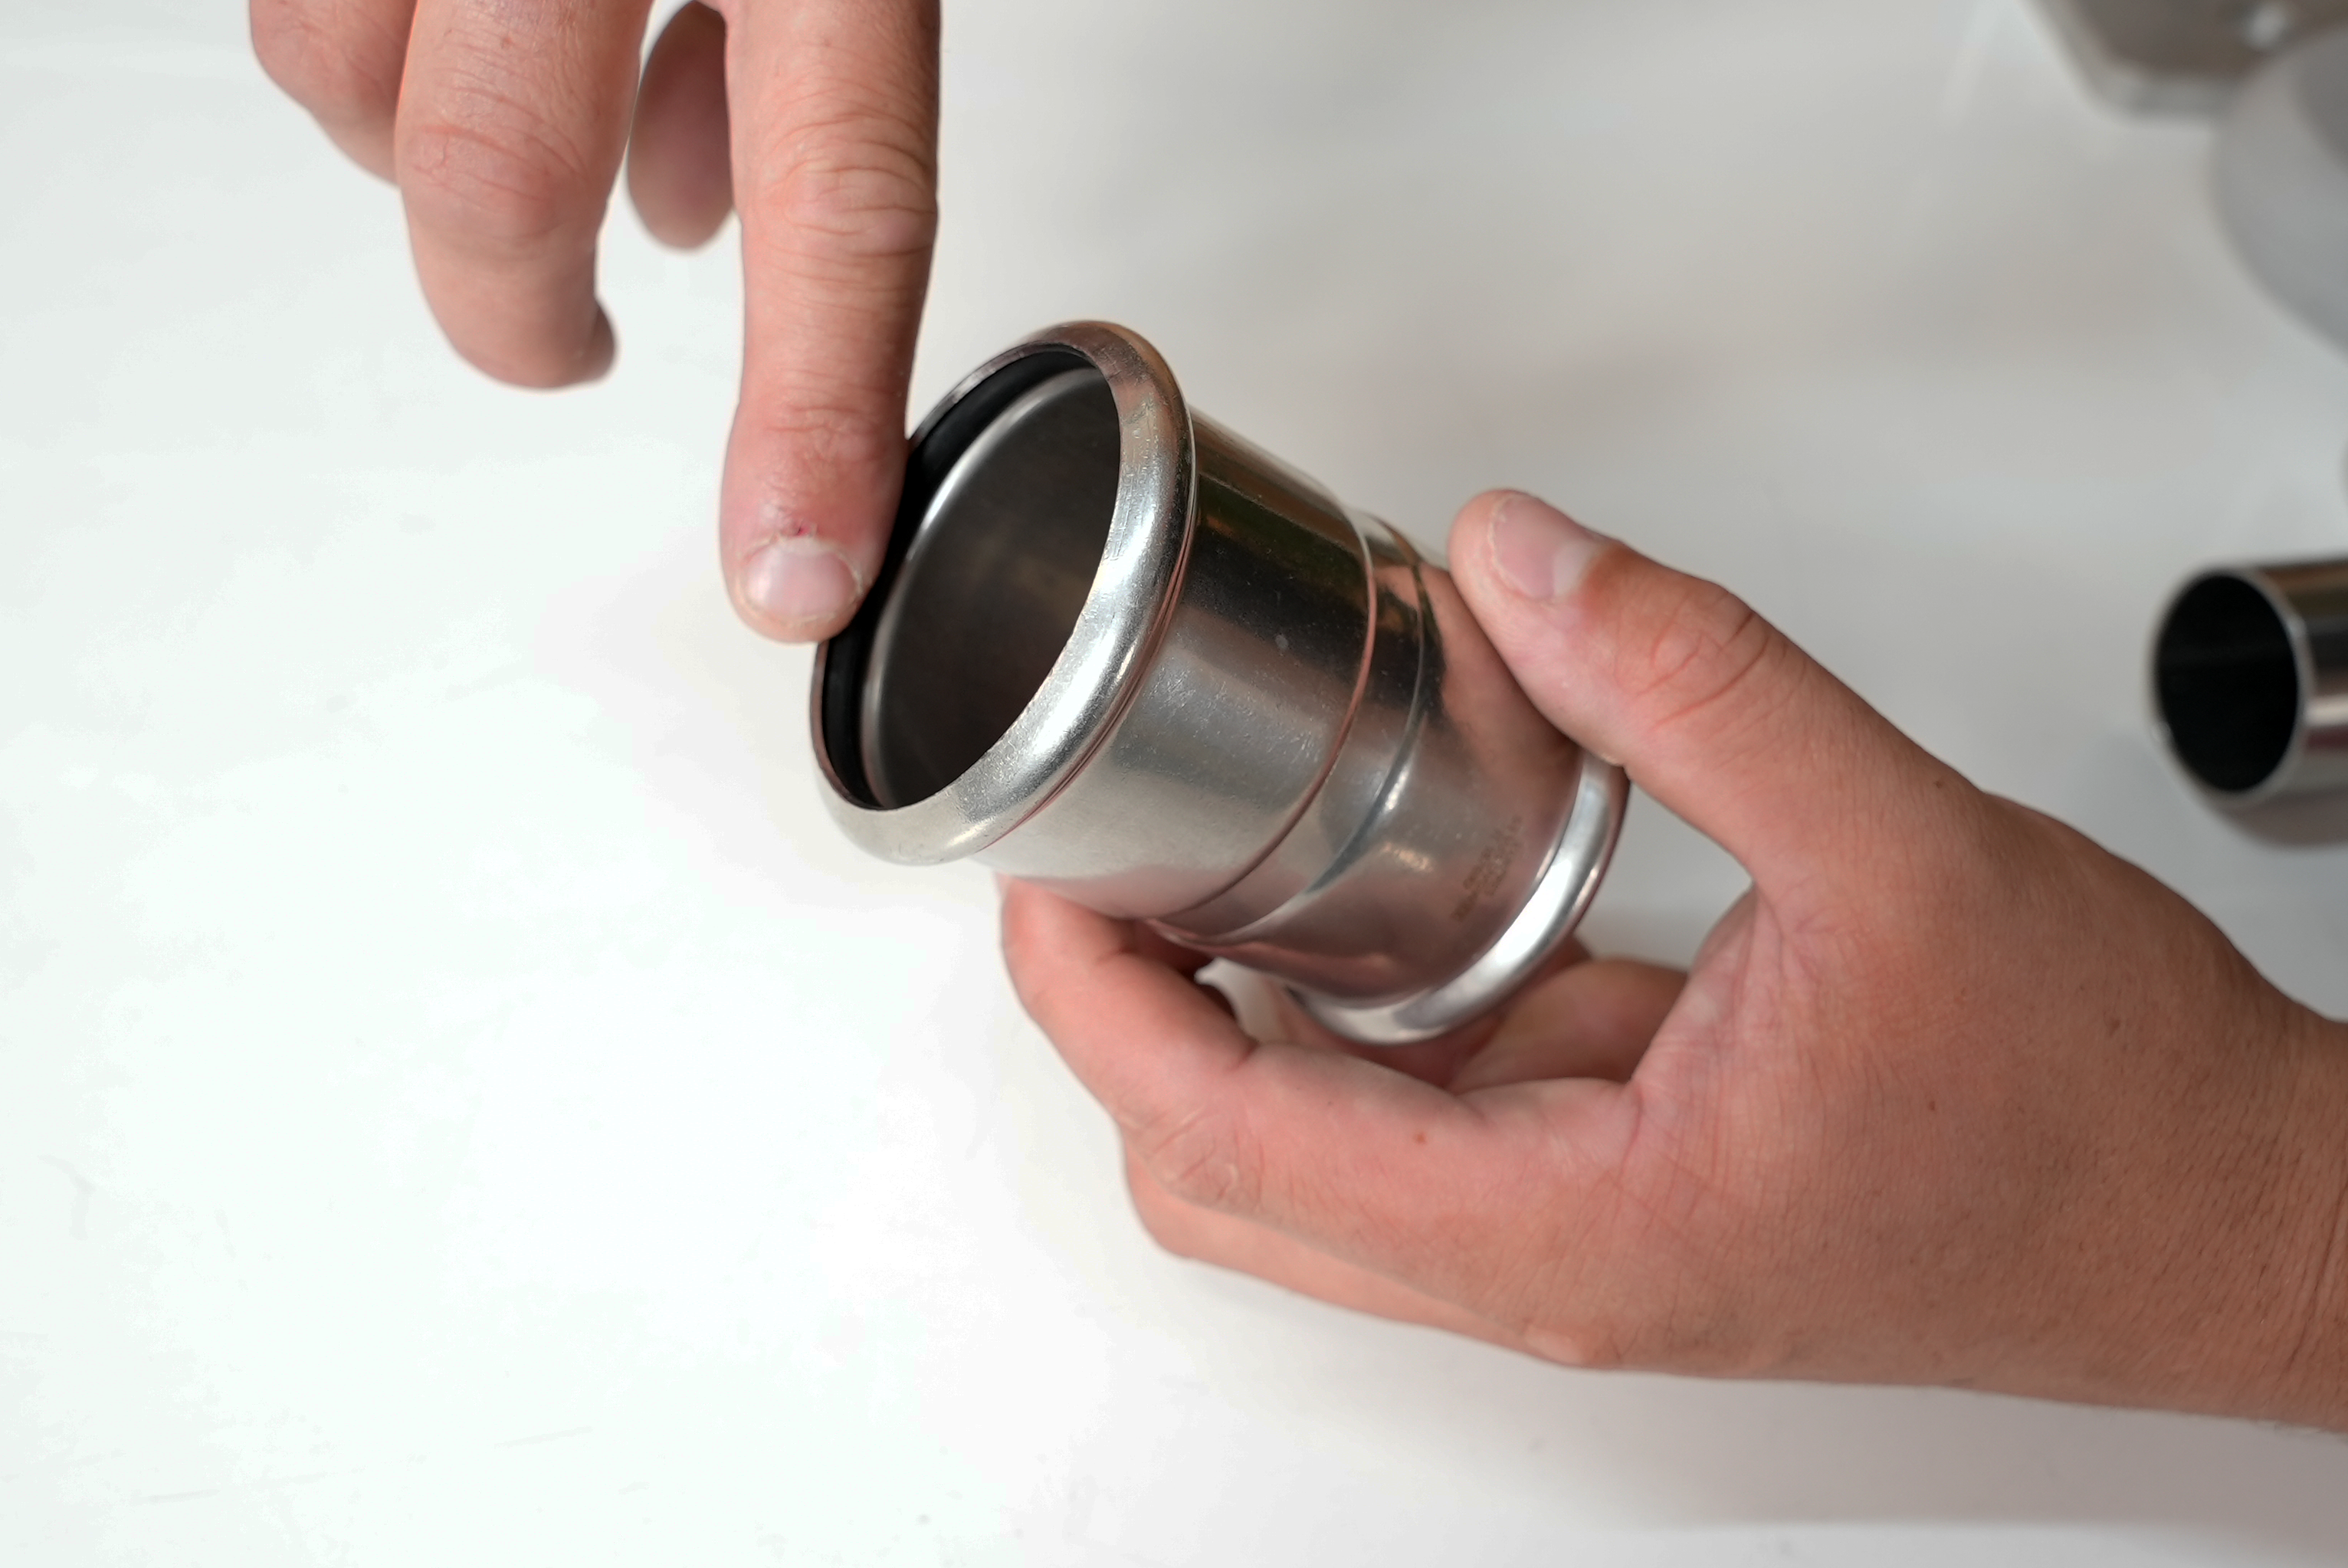
Checking the sealing ring
Press Fit Seal Ring Check
Before assembling the fittings, it is advisable to check that the sealing ring is correctly inserted in its seat and that it is not dirty or damaged. If necessary, it must be replaced.
Additionally, the fitter should check whether the ring in position is suitable for the special application, or whether another sealing ring needs fitting.
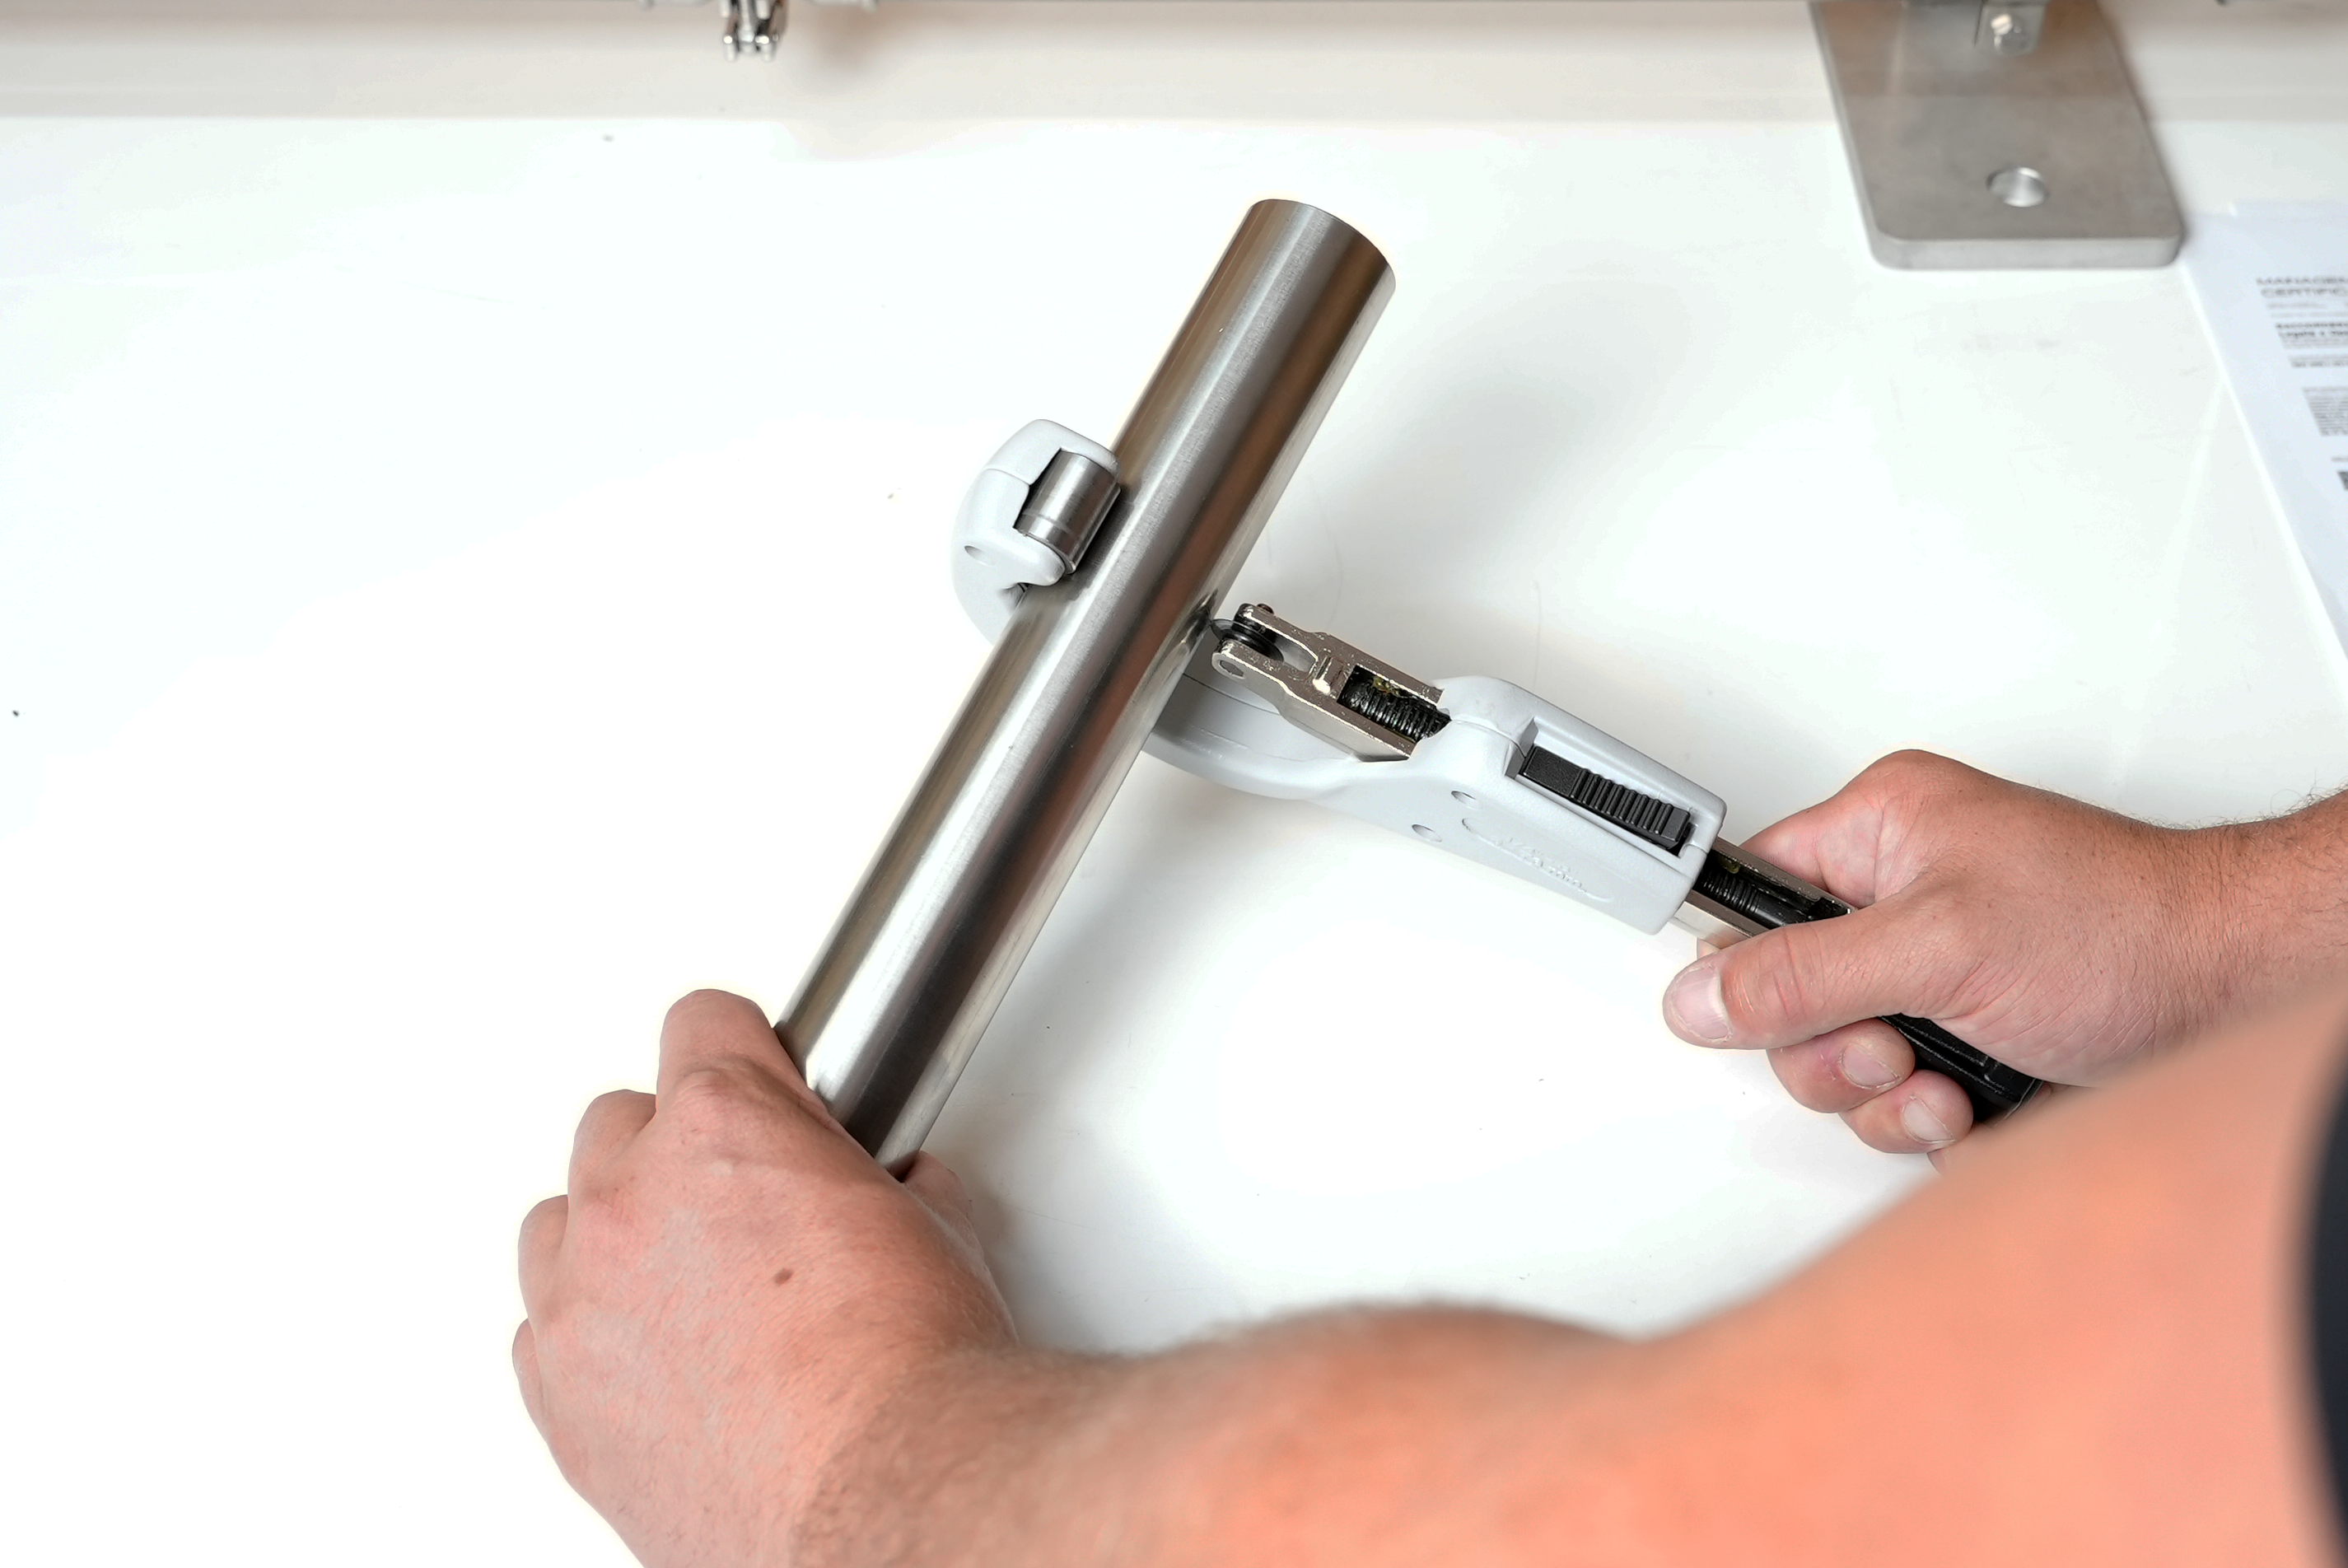
Making The Press Connection ø 12 – 108 mm
Using light pressure and making a turning movement at the same time, press the pipe into the press fitting up to the marked insertion depth. If the tolerances are so narrow that additional force is required to insert the pipe into the press fitting, then water or soapy water may be used as a lubricant.
Oil and grease are not permitted for use as lubricants.
Pressing is carried out using suitable electromechanical/electro hydraulic pressing tools and dimension-matching pressing jaws or collars/chains. Tested and approved pressing tools or pressing jaws/collars/chains are listed under table 8 – 9 approved pressing tools.
The matching pressing jaw is mounted in the pressing machine, or the appropriate collar/chain mounted on the fitting, depending on the dimensions of the press fitting. The slot of the pressing jaw/collar must be positioned exactly over the press fit formed end.
Following pressing, the complete connection should then be checked to ensure that the work has been carried out correctly and that the insertion depth is correct. The fitter should also ensure that all connections have actually been pressed. React immediately in the event of an unusual press pattern. Completely pressed systems with faulty press patterns or profiles cannot be fully recognized as a complaint.
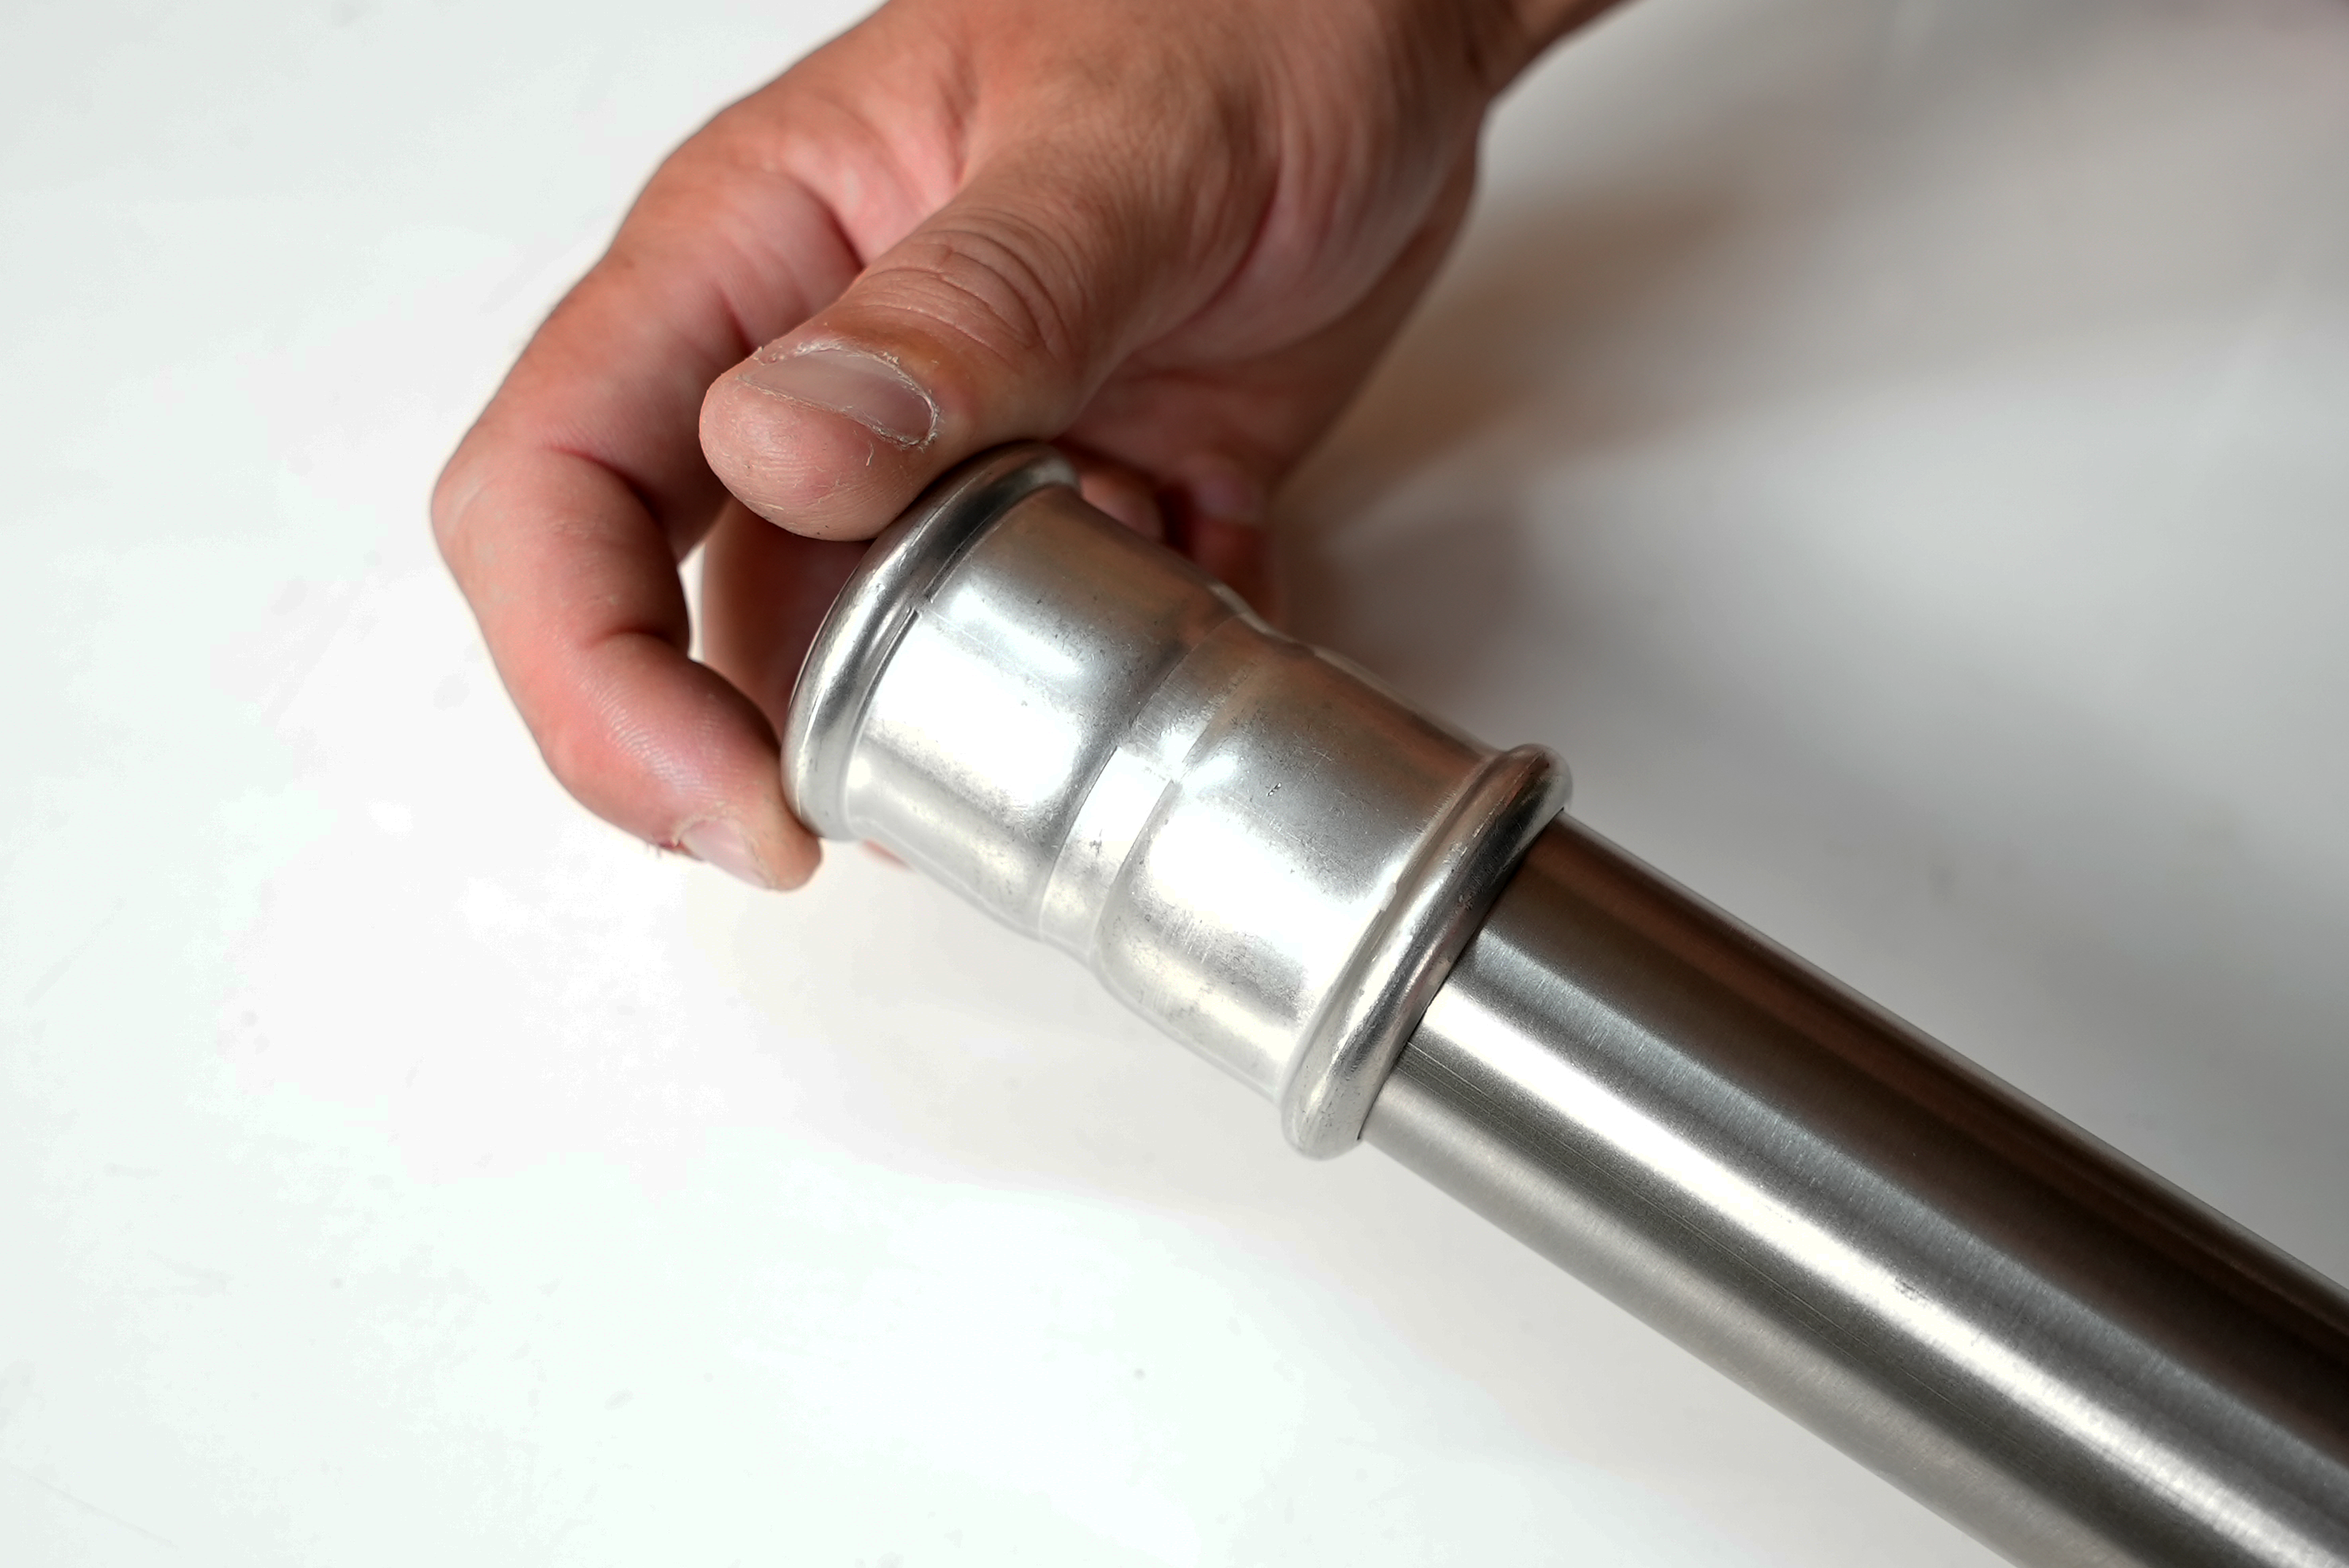
Insertion pipe into the press fitting
Following completed pressing, the pressing points may not be subjected to further mechanical loading. The positioning and straightening of the pipes and the sealing of threaded connections must therefore take place before the pressing is carried out. Slight movement and lifting of pipes, for example for painting work is permitted.
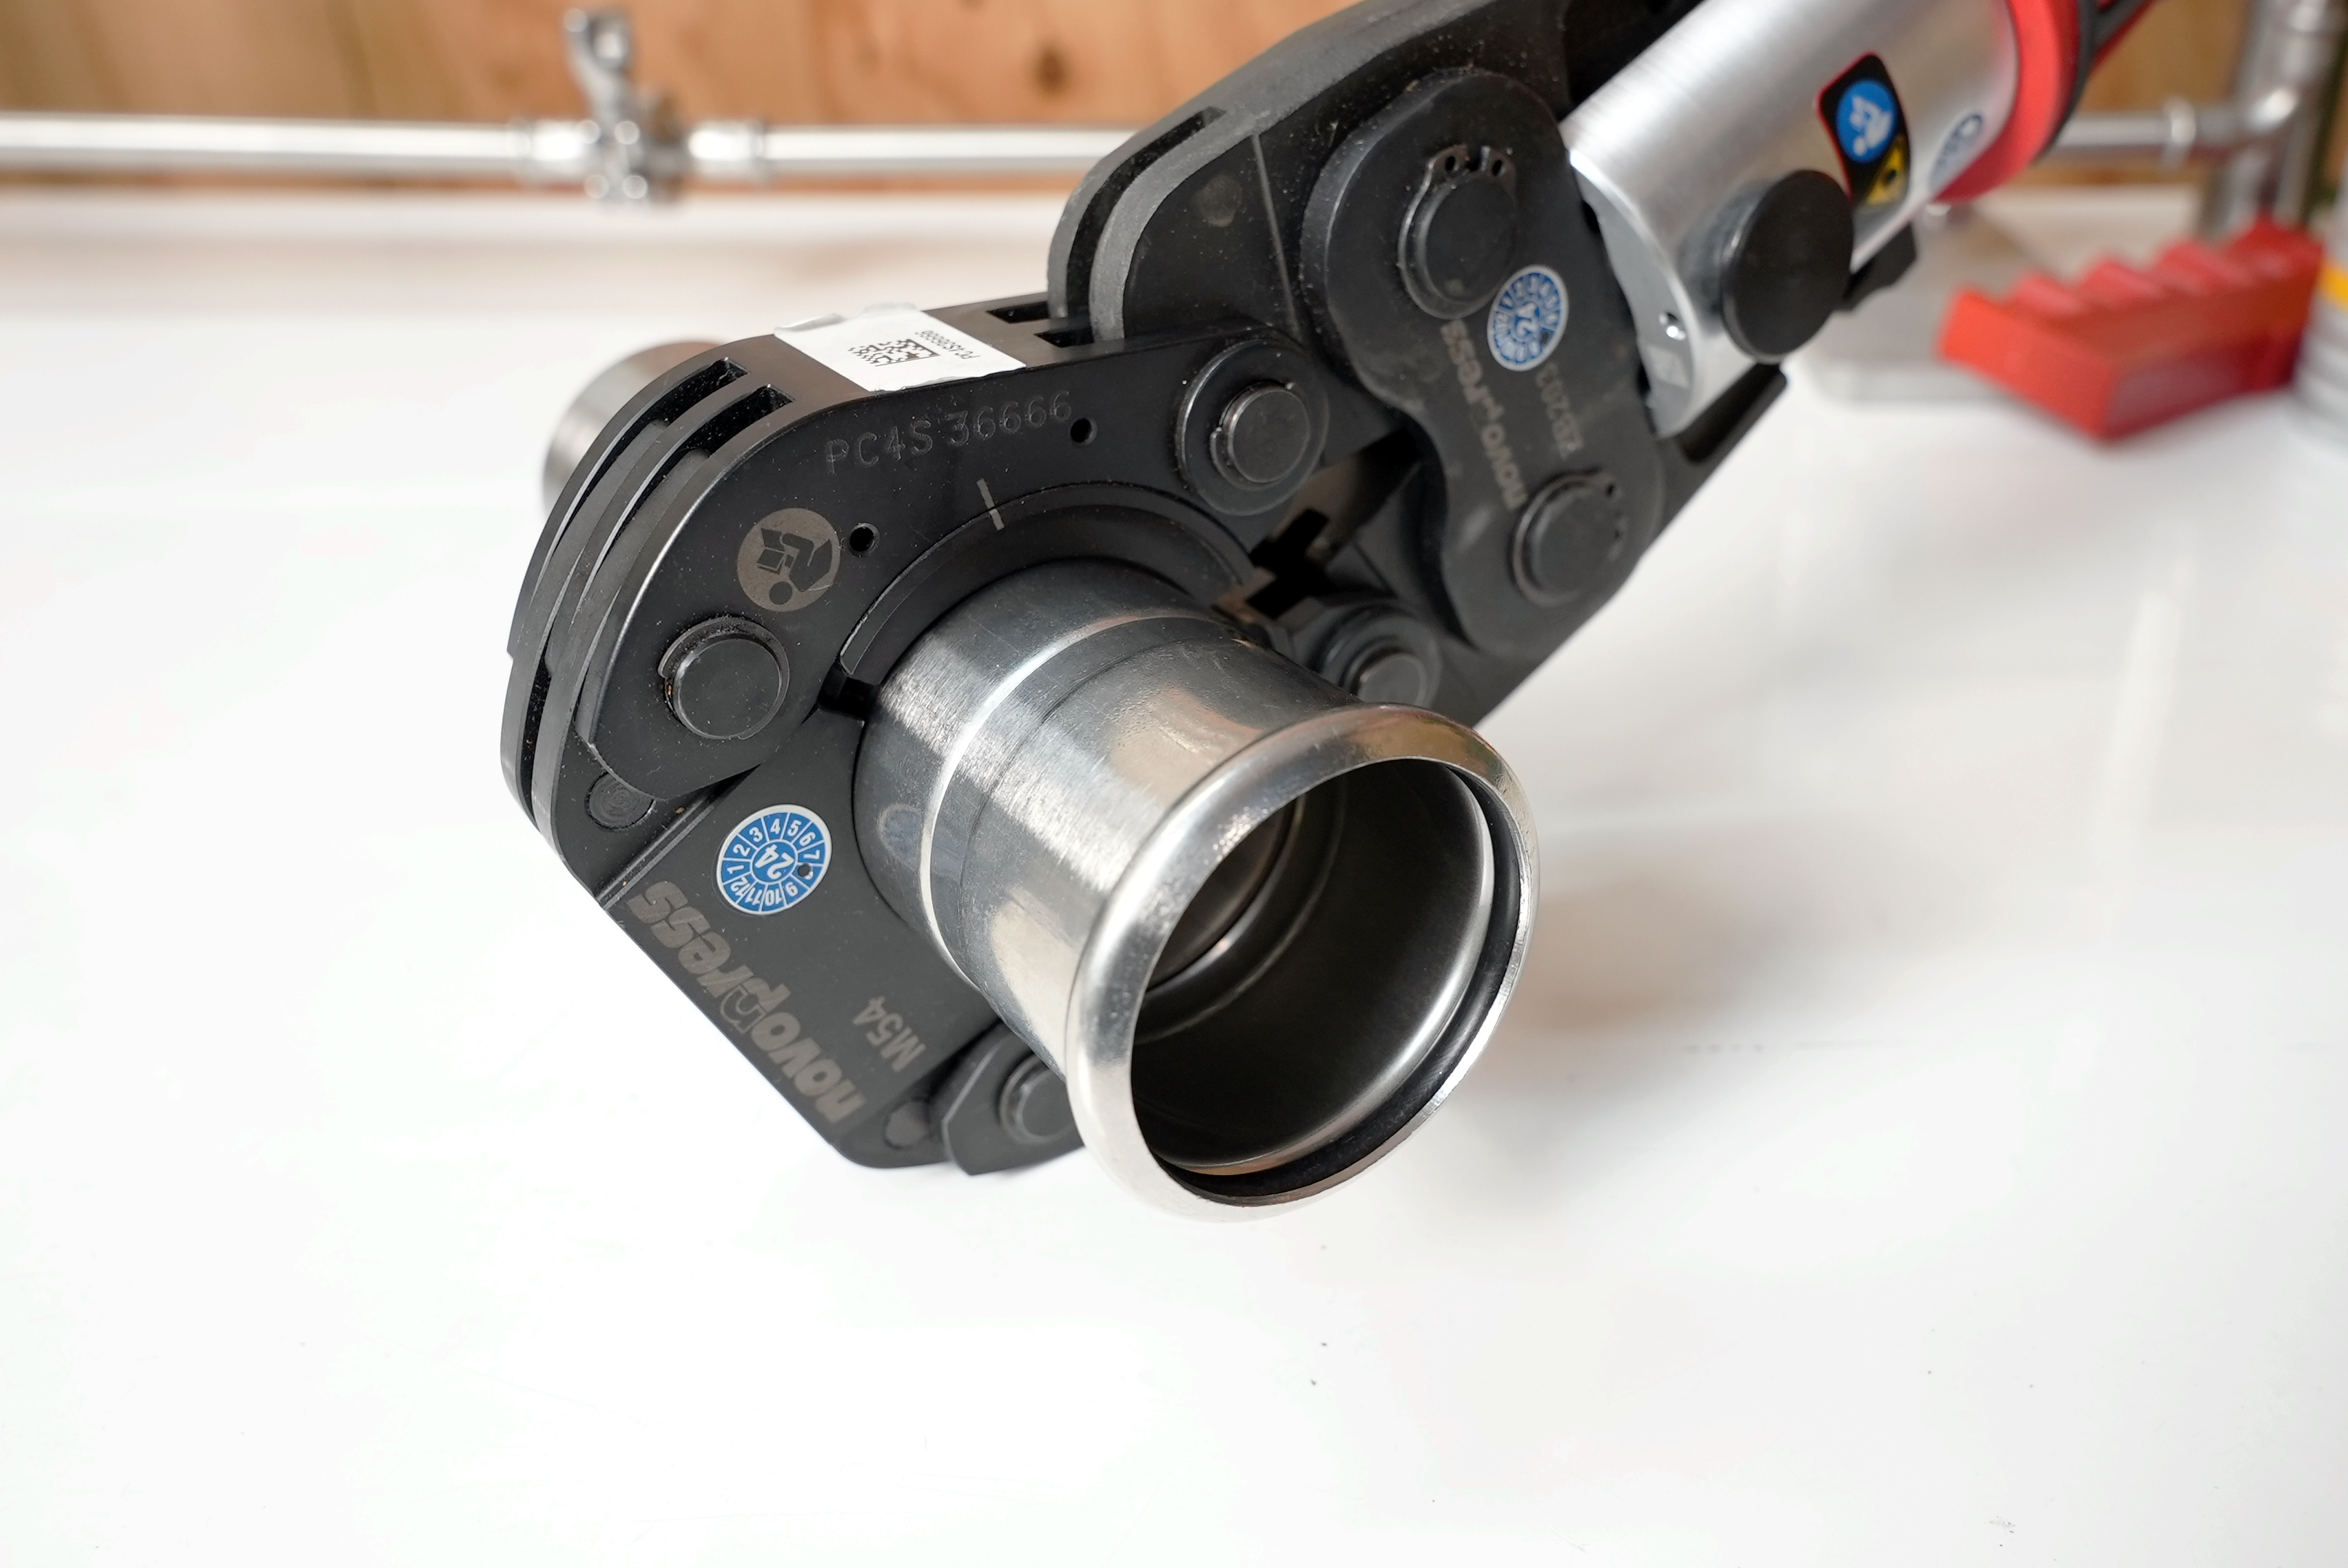
Making the press connection

Making the press connection